Are you experiencing graphics issues on your computer? Do you suspect that your graphics card might be the root cause of the problem? In this comprehensive guide, we will show you how to test your graphics card for problems and troubleshoot any issues that may arise. We will cover the most common issues that can occur with graphics cards and provide step-by-step instructions on how to diagnose and fix them. So, if you’re ready to take control of your computer’s graphics performance, keep reading!
What is a graphics card?
The importance of a graphics card
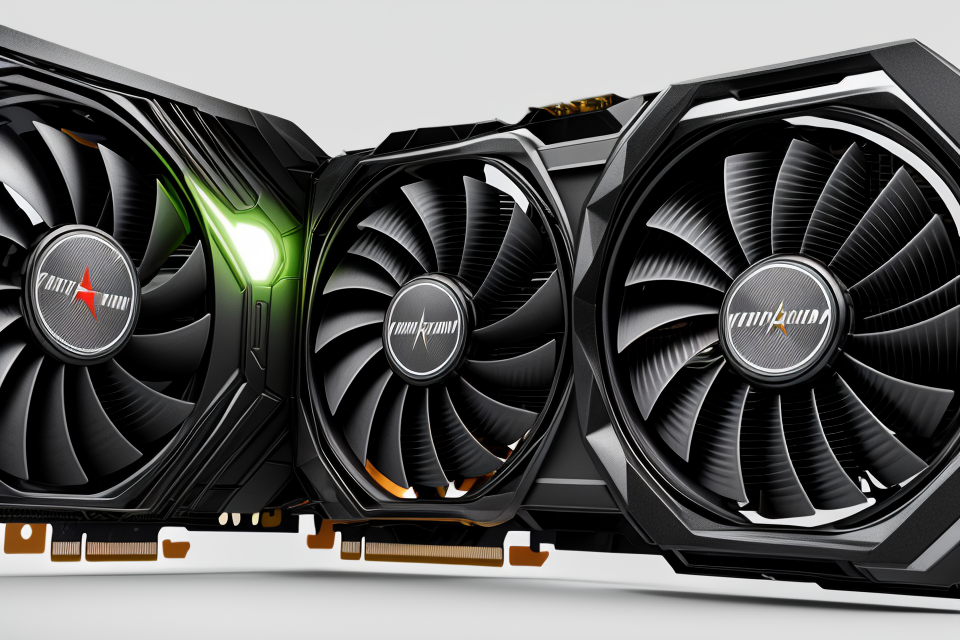
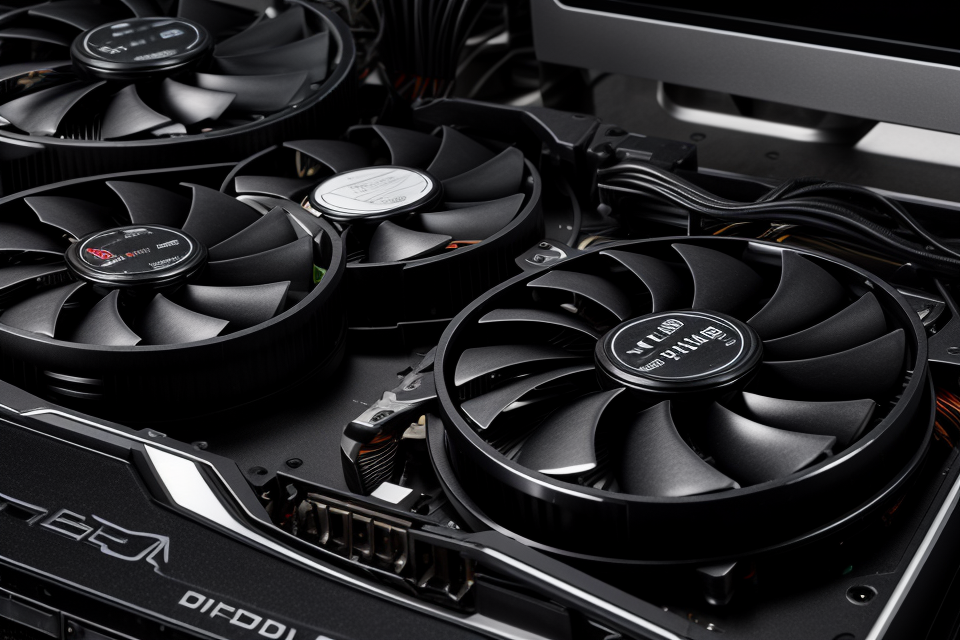
A graphics card, also known as a video card or display card, is an essential component of a computer system that is responsible for rendering images and video on a display device. The graphics card is a separate component from the CPU and is designed to offload the graphics processing workload from the CPU, allowing it to focus on other tasks.
The importance of a graphics card cannot be overstated. It plays a crucial role in the overall performance of a computer system, particularly when it comes to tasks that require intensive graphics processing, such as gaming, video editing, and 3D modeling. A high-quality graphics card can significantly improve the visual quality of images and videos, making them appear more vibrant and lifelike.
Additionally, a good graphics card can also improve the overall stability and reliability of a computer system. Graphics cards are designed to handle demanding workloads, and they are built with high-quality components that are engineered to last. As a result, investing in a high-quality graphics card can help extend the lifespan of your computer and reduce the likelihood of hardware failures.
Overall, the graphics card is a critical component of a computer system, and it plays a crucial role in the performance and stability of the system. If you are experiencing issues with your graphics card, it is important to troubleshoot the problem as soon as possible to ensure that your computer is running at its best.
The different types of graphics cards
A graphics card, also known as a video card or display card, is an expansion card that is responsible for producing the images that are displayed on a computer screen. The graphics card is a crucial component in a computer system, particularly for tasks that require intensive graphics processing, such as gaming, video editing, and 3D modeling.
There are several types of graphics cards available in the market, each with its own unique features and capabilities. Some of the most common types of graphics cards include:
- Integrated graphics cards: These are graphics cards that are integrated into the motherboard of a computer. They are less powerful than dedicated graphics cards but are sufficient for basic tasks such as web browsing and video playback.
- Dedicated graphics cards: These are graphics cards that are installed in a PCIe slot on the motherboard. They are more powerful than integrated graphics cards and are designed for tasks that require intensive graphics processing, such as gaming and video editing.
- High-end graphics cards: These are graphics cards that are designed for advanced graphics processing tasks, such as 3D modeling and simulation. They are typically more expensive than other types of graphics cards but offer superior performance.
- Low-profile graphics cards: These are graphics cards that are designed for use in small form factor computers or systems where there is limited space for expansion cards. They are typically less powerful than full-sized graphics cards but are ideal for use in compact systems.
- Mobile graphics cards: These are graphics cards that are designed for use in laptops and other portable devices. They are typically less powerful than desktop graphics cards but are designed to be more power-efficient and cooler-running.
When troubleshooting graphics card issues, it is important to understand the type of graphics card that is installed in the computer system. This will help in identifying the root cause of the issue and selecting the appropriate troubleshooting steps.
How to test your graphics card for problems
Method 1: GPU-Z
How to use GPU-Z
Step 1: Download and install GPU-Z
GPU-Z is a free utility that provides detailed information about your graphics card, including the GPU temperature, clock speed, and memory usage. To use GPU-Z, follow these steps:
- Download GPU-Z from the official website.
- Double-click the downloaded file to begin the installation process.
- Follow the prompts to complete the installation.
Step 2: Run GPU-Z and check the information
Once GPU-Z is installed, you can run it to check the information about your graphics card. Follow these steps:
- Open the GPU-Z application.
- Select the graphics card you want to test from the list of detected devices.
- Check the information displayed in the main window, including the GPU temperature, clock speed, and memory usage.
Step 3: Monitor the GPU temperature and other details
Monitoring the GPU temperature and other details can help you identify potential issues with your graphics card. To monitor the GPU temperature, follow these steps:
- Select the graphics card you want to monitor from the list of detected devices.
- Check the temperature displayed in the main window.
If the GPU temperature is high, it may indicate a problem with the graphics card. You may need to adjust the settings in your operating system or check for dust buildup on the graphics card. Other issues, such as inadequate cooling or faulty hardware, may also cause high GPU temperatures.
Additionally, GPU-Z can help you monitor other details, such as the clock speed and memory usage, which can also indicate potential issues with your graphics card. If you notice any abnormalities, you may need to troubleshoot the issue further or seek assistance from a professional.
Method 2: 3DMark
How to use 3DMark
Step 1: Download and install 3DMark
- Go to the official website of 3DMark (https://www.3dmark.com/) and download the latest version of the software.
- Follow the instructions provided during the installation process.
- Launch the 3DMark application on your computer.
Step 2: Run 3DMark and check the benchmark scores
- Select the first test, which is usually called “Time Spy” or “Fire Strike” from the list of available tests.
- Click on the “Standard” or “Extreme” mode depending on your computer’s hardware specifications.
- Adjust the resolution to match your monitor’s native resolution (e.g., 1920×1080 or 3840×2160).
- Click on the “Start” button to begin the test.
- Wait for the test to complete, and then 3DMark will display the results.
Step 3: Analyze the results and identify potential issues
- Look for the “Graphics Score” or “3DMark Score” in the results. This score represents the performance of your graphics card.
- Compare your score with the average scores of other graphics cards with similar specifications. You can find these scores on the 3DMark website or online forums.
- If your score is significantly lower than the average score, it may indicate a problem with your graphics card.
- Check the temperature of your graphics card during the test. If the temperature is too high, it may indicate a problem with the cooling system or overclocking.
- If you suspect a problem with your graphics card, try running the test again after a few hours or the next day. If the problem persists, it is likely a hardware issue that requires attention.
Method 3: Diagnostic tools
How to use diagnostic tools
Diagnostic tools are software programs designed to test and diagnose problems with your graphics card. These tools can help you identify issues such as corrupted drivers, faulty hardware, and incompatible software. Here’s how to use diagnostic tools to test your graphics card:
Step 1: Download and install diagnostic tools
- Start by downloading a reputable diagnostic tool, such as NVIDIA’s GeForce Experience or AMD’s Radeon Software.
- Once downloaded, run the installer and follow the on-screen instructions to install the tool on your computer.
Step 2: Run the diagnostic tools and check for errors
- Once the diagnostic tool is installed, launch it and allow it to run a scan of your graphics card.
- The tool will perform a series of tests to check for any issues, such as faulty hardware or corrupted drivers.
- If any errors are detected, the tool will provide you with detailed information about the issue and offer suggestions for how to fix it.
Step 3: Follow the instructions provided by the diagnostic tools
- If the diagnostic tool identifies any issues, follow the instructions provided by the tool to resolve the problem.
- This may involve updating your graphics card drivers, resetting your graphics settings, or even replacing the graphics card if it is faulty.
- Once the issue has been resolved, run the diagnostic tool again to ensure that the problem has been fixed.
Overall, diagnostic tools can be a useful resource for troubleshooting graphics card issues. By using these tools, you can quickly identify and resolve problems, ensuring that your graphics card is functioning properly and providing you with the best possible gaming experience.
Common graphics card issues and how to fix them
Blue screen of death
How to fix blue screen of death caused by graphics card issues
Step 1: Check for driver updates
The first step in fixing blue screen of death caused by graphics card issues is to check for driver updates. Graphics card drivers are software that allow your operating system to communicate with your graphics card. If your graphics card drivers are outdated, they may cause compatibility issues that result in a blue screen of death. To check for driver updates, go to your graphics card manufacturer’s website and download the latest drivers for your graphics card model.
Step 2: Update the graphics card drivers
Once you have downloaded the latest drivers for your graphics card, the next step is to update the drivers. This process may vary depending on your operating system, but generally, you will need to run an installer program that will replace the old drivers with the new ones. Make sure to follow the instructions carefully to avoid any issues during the update process.
Step 3: Reinstall the graphics card
If updating the graphics card drivers does not fix the blue screen of death, the next step is to reinstall the graphics card. This involves physically removing the graphics card from your computer and reinstalling it. Before you do this, make sure to back up any important data on your computer. Reinstalling the graphics card can be a complicated process, so it is recommended that you seek the assistance of a professional if you are not comfortable doing it yourself.
Flickering or artifacts on the screen
How to fix flickering or artifacts caused by graphics card issues
Step 1: Update the graphics card drivers
Outdated graphics card drivers can cause flickering or artifacts on the screen. Therefore, the first step in troubleshooting this issue is to update the graphics card drivers.
To update the graphics card drivers, follow these steps:
- Open the Device Manager on your computer.
- Locate the graphics card in the Device Manager and right-click on it.
- Select “Update driver” from the context menu.
- Follow the on-screen instructions to update the graphics card drivers.
Step 2: Reinstall the graphics card
If updating the graphics card drivers does not fix the issue, the next step is to reinstall the graphics card. This process involves removing the graphics card from the computer and reinstalling it.
To reinstall the graphics card, follow these steps:
- Shut down your computer and unplug it from the power source.
- Open the computer case and locate the graphics card.
- Carefully remove the graphics card from the computer.
- Clean the computer case and the graphics card.
- Reinsert the graphics card into the computer and secure it properly.
- Power on the computer and check if the flickering or artifacts have been fixed.
Step 3: Adjust the display settings
In some cases, adjusting the display settings can fix flickering or artifacts on the screen. To adjust the display settings, follow these steps:
- Open the Display settings on your computer.
- Adjust the display resolution, refresh rate, and color settings.
- Check if the flickering or artifacts have been fixed.
Overall, updating the graphics card drivers, reinstalling the graphics card, and adjusting the display settings are some of the most effective ways to fix flickering or artifacts on the screen caused by graphics card issues.
No display or black screen
One of the most common graphics card issues is when the computer fails to display anything on the screen or shows a black screen. This issue can be caused by a variety of factors, but with the right troubleshooting steps, you can quickly identify and fix the problem.
How to fix no display or black screen caused by graphics card issues
Step 1: Check the power supply
The first step in troubleshooting a graphics card issue is to check the power supply. Make sure that the power supply is properly connected to the graphics card and that the power supply is functioning correctly. You can use a multimeter to check the voltage output of the power supply to ensure that it is providing enough power to the graphics card.
Step 2: Check the display port
If the graphics card is not receiving enough power, the next step is to check the display port. Make sure that the display port is properly connected to the graphics card and that it is functioning correctly. You can use a display port tester to check the display port.
Step 3: Try a different graphics card
If the graphics card is not the issue, then it is likely that the problem is with the display port or the monitor. In this case, the best solution is to try a different graphics card to see if the issue persists. You can try a different graphics card to determine if the problem is with the graphics card or the monitor.
It is important to note that some graphics cards may require additional drivers or software to function properly. Make sure that you have the latest drivers and software installed before attempting to troubleshoot any graphics card issues.
Additionally, if you are still experiencing issues after trying these steps, it may be best to consult with a professional technician who can help diagnose and fix the problem.
High system temperature
High system temperature can be caused by a variety of factors, including overheating graphics cards. When a graphics card becomes too hot, it can cause system crashes, display issues, and even hardware damage. In this section, we will discuss the causes of high system temperature caused by graphics card issues and how to fix them.
How to fix high system temperature caused by graphics card issues
The first step in fixing high system temperature caused by graphics card issues is to check for dust buildup. Over time, dust and debris can accumulate inside the computer case and on the graphics card, blocking airflow and causing the card to overheat. To check for dust buildup, turn off the computer and unplug it from the power source. Open the case and use a can of compressed air to blow out any dust or debris that may have accumulated inside. Be sure to direct the airflow away from any sensitive components, such as the hard drive or motherboard.
If there is a significant amount of dust buildup on the graphics card, it may need to be cleaned manually. To clean the graphics card, first unplug the computer and remove the side panel of the case. Carefully remove the graphics card from the slot and use a soft, dry cloth to wipe away any dust or debris that has accumulated on the card. Be sure to avoid touching any of the delicate components on the card, as this can cause damage.
If the graphics card is still overheating after cleaning, it may be necessary to update the graphics card drivers. Graphics card drivers are software programs that allow the graphics card to communicate with the rest of the computer. If the drivers are outdated or corrupt, they can cause the graphics card to overheat and malfunction. To update the graphics card drivers, go to the manufacturer’s website and download the latest drivers for your specific graphics card model. Follow the instructions provided by the manufacturer to install the drivers.
If the high system temperature persists after trying these steps, it may be necessary to replace the graphics card or seek assistance from a professional technician.
Graphics card overheating
Graphics card overheating is a common issue that can cause your system to crash or display distorted graphics. It occurs when the graphics card’s temperature exceeds the safe operating limit. Here are some steps to fix graphics card overheating:
How to fix graphics card overheating
Step 1: Check for dust buildup
Dust buildup is a common cause of graphics card overheating. It blocks the cooling fans and prevents them from dissipating heat efficiently. To check for dust buildup, you can use a can of compressed air to blow out any debris from the graphics card. Alternatively, you can use a soft brush to gently remove any visible dust or debris.
Step 2: Clean the graphics card
If dust buildup is severe, you may need to clean the graphics card more thoroughly. To do this, you will need to remove the graphics card from the computer and use a graphics card cleaner or alcohol-based solution to clean the card. Be sure to follow the manufacturer’s instructions carefully and avoid getting any solution on other components.
Step 3: Update the graphics card drivers
Updating the graphics card drivers can also help fix overheating issues. Graphics card manufacturers regularly release updates to improve performance and fix bugs. To update the graphics card drivers, you can visit the manufacturer’s website and download the latest drivers for your card.
FAQs
1. What are the common issues with graphics cards?
Graphics cards can experience a range of issues, including:
* Overheating
* Display issues (e.g. flickering, artifacts)
* Incompatibility with other hardware or software
* Driver issues
* Physical damage
2. How can I check if my graphics card is working properly?
There are several ways to check if your graphics card is working properly:
* Run a graphics card stress test program, such as FurMark or 3DMark, to see how the card handles heavy loads.
* Check for any display issues, such as flickering or artifacts, by running a display test program or by using a tool like GPU-Z to monitor the card’s performance.
* Check the temperature of the card using a tool like MSI Afterburner or AIDA64 Extreme.
* Check for any physical damage to the card or its connectors.
3. How can I fix common graphics card issues?
Some common graphics card issues and their fixes include:
* Overheating: Make sure your graphics card has adequate cooling, such as a proper airflow or a liquid cooling system. Clean any dust or debris that may be blocking the card’s vents. If the issue persists, consider upgrading to a better cooling solution or replacing the card if it is still under warranty.
* Display issues: Check for any updates to your graphics card drivers and make sure they are compatible with your operating system and other hardware. Try running a display test program to see if the issue is resolved. If the problem persists, it may be a hardware issue and you may need to replace the card.
* Incompatibility issues: Check that your graphics card is compatible with your other hardware and software. Try updating your drivers or rolling back to a previous version if the issue persists.
* Physical damage: If your graphics card has physical damage, it may need to be repaired or replaced. Depending on the extent of the damage, this may be covered under warranty or may require a repair service.
4. What tools can I use to test my graphics card?
There are several tools you can use to test your graphics card:
* FurMark: A stress testing program that can push your graphics card to its limits and check for any issues.
* 3DMark: A benchmarking tool that can test your graphics card’s performance in various scenarios.
* GPU-Z: A tool that can provide information about your graphics card’s specifications and performance.
* MSI Afterburner: A utility that can monitor your graphics card’s temperature and performance in real-time.
* AIDA64 Extreme: A diagnostic tool that can test your graphics card’s performance and diagnose any issues.
5. When should I replace my graphics card?
There are several signs that it may be time to replace your graphics card:
* If your graphics card is more than a few years old and is no longer able to handle the demands of modern games or applications.
* If your graphics card is experiencing frequent issues or is prone to crashing.
* If your graphics card is physically damaged or is no longer able to maintain adequate performance.
* If you are upgrading your other hardware, such as your CPU or motherboard, and want to take advantage of new features or performance improvements.
In general, if your graphics card is no longer able to meet your needs or is experiencing frequent issues, it may be time to replace it.